Welcome to the third installment of The Poshmark Series, where I’m walking y’all through how to make some moolah on Poshmark. You can read the intro post here, and you can read about why I choose Poshmark over other selling platforms in this post here.
Check out my closet here, and sign up for Poshmark here with my code BWCTE for $5 credit towards your first purchase!Â

It’s been awhile since I’ve posted anything in The Poshmark Series, but the more I talk to my friends about Poshmark, the more I realize how valuable my Poshmark knowledge is!
Last time I covered why I choose Poshmark over other selling platforms and today I’m going to walk you through one of the most important parts of Poshmark: listing your items to sell!
Let’s break this whole listing thing down into easy steps. Listing on Poshmark is actually pretty easy once you get the hang of it. I’m going to be really thorough, so stick with me, y’all! This is how I list.
ONE: GATHER ALL ITEMS TO LIST
Whether you’re attempting to earn a full-time income or just cleaning out your closet, you should first gather everything you want to list. For me, that doesn’t mean ALL of my unlisted inventory (or death pile as resellers call it), it just means what I want to get through in that listing session. I find that it’s best for me to get into a groove, so I’ll grab a pile of usually 20-25 items and bring them to where I’ll be photographing. Unfold them all and lay them flat on each other. It’s one less thing you have to do in the groove.
If you have items that desperately need to be ironed or steamed, this is when you should do that. You can get a steamer for around $20 but you probably already have an iron. Irons just stress me out 😉 Once you start listing on Poshmark, it’s good to have everything photo-ready.
TWO: SET UP YOUR PHOTOS
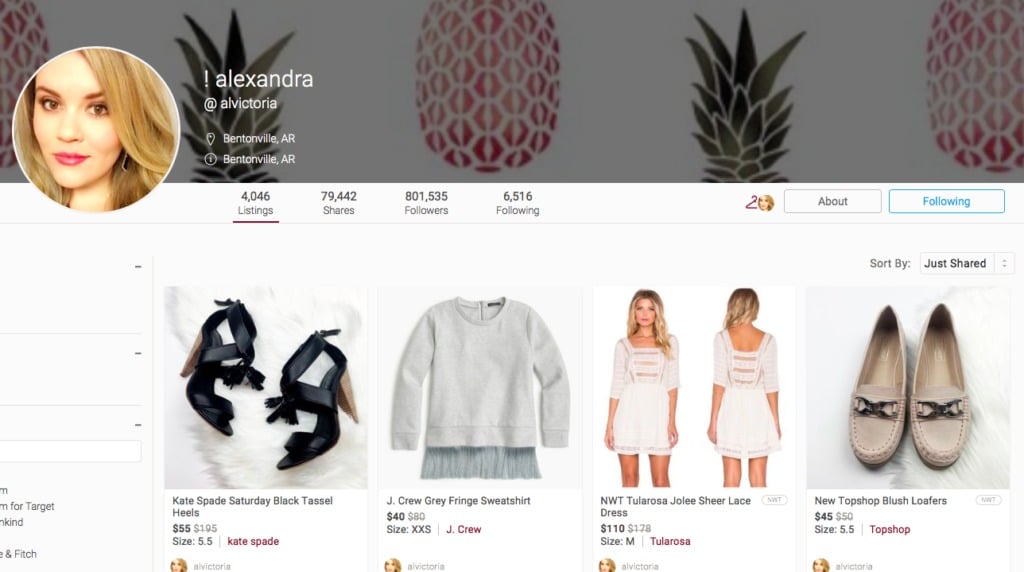
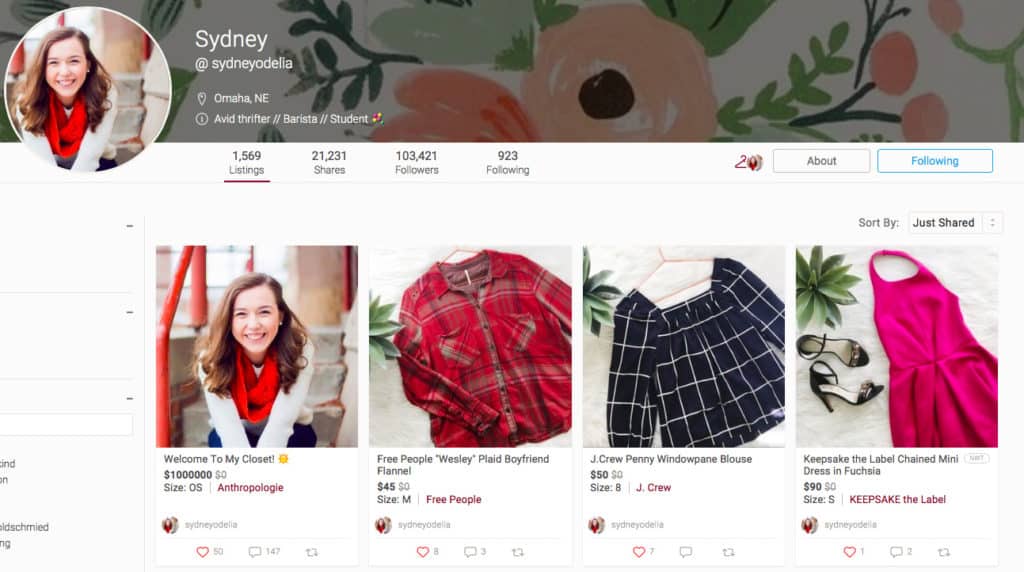
If you look through my Poshmark closet, you’ll notice that I have a BUNCH of different photo layouts. Some were on a fuzzy blanket, some were on a white bedspread, some are hanging, some are on a white rug with a wood floor, and some are a white rug with a yellow rug behind it. I’m still figuring out the best way (for me) to take photos. I like hanging them, but I also don’t have the space to do that consistently. Find what works the very best for you, and get the area all set up. Move away any furniture or decor that gets in the way. Here are some of my favorite Posh closets for some inspiration for listing on Poshmark:
I love her gold speckled wallpaper. It’s unique but still really classy + girly. Her flatlays for shoes + bags is really nicely done, as well.


Sydney does a BEAUTIFUL job with flat lays!

Here’s what you’re looking for with your location for photos: LIGHT! Lots of natural light. Try to find or create a bright, clutter free space for your photos, regardless of if you’re hanging them or flat laying them. If you’re unable to find any natural light, you could invest in a lighting kit. That’s the next step for me, so that I can take photos that are bright and airy regardless of what is or isn’t coming through my window.
THREE: PHOTOGRAPH
For the first few months I only used the Poshmark app for taking photos, and now that I’ve stepped away from that I highly recommend taking photos with your camera app. For whatever reason, Poshmark doesn’t let you edit the orientation of your photos and sometimes the photos take sideways and you have to keep retaking them. By taking them with your camera app you can easily edit them, regardless of their orientation.
At a MINIMUM, I take 3 photos of each item: full-length front, close up of tag/size, full-length back. If there are any cute details (embroidery, ruffles, lace, beading, etc) I always include a close up of that as well.
If there is ANY damage to the item, take a photo of it. Snags, wear, tiny holes or stains. You can still sell the item damaged, but you need to disclose any and all wear. Photos make sure the buyer knows exactly what they’re getting.
Go through the pile, photographing each item. Once you’re done with that, it’s time to move on to actual listing.
FOUR: OPEN AND LIST ON POSHMARK
Since I’ve started selling on Poshmark, they’ve enabled web-based listing. My computer is always really slow and on the verge of freezing or crashing so I’ve chosen not to list with my computer. If you decide to list on your computer, go to Poshmark.com and go to the top right of the dashboard and you’ll see a the words $ SELL ON POSHMARK. Click that and you’ll go to the new listing page. You’ll have the opportunity to upload up to 8 photos, add a description, select the size/color/brand and set your price.
On the app it’s very similar. Once you open the app, there’s a camera with the word “Sell” underneath located in the middle of the bottom of the screen. Click that and you’ll be at the app-version of the new listing page. You can upload photos, add the description/size/color/brand and set the price.
Something you need to know about pricing: DO NOT list for the lowest you’d be willing to take the item for. I used to list items at $7-8 each and would get so frustrated when people would offer me $3 (I’d make $0.05 off of that!) So I started listing things at a higher price to accommodate offers. I’ll share more about offers in a later post, but for now make sure you pick a reasonable price that allows wiggle room for people to offer lower.
For what it’s worth, I usually turn on Netflix (click here for some of my recommendations!), sit next to the pile of photographed items, and then list them. When I’ve listed an item, I put it on the other side of me. At some point I look like I’m sitting on a throne of clothes.
FIVE: PUT YOUR ITEMS IN A PLACE YOU’LL REMEMBER
Just today I had to contact a buyer because I couldn’t find this one pair of shoes she purchased. I’ve seen them, I know I have. But I cannot for the life of me FIND THEM. Make sure you keep them in a box or a bag or a special place in your closet. I’ve refined my inventory system, and I’ll share that soon! Keep everything together so you’ll know exactly where to go when you need to ship them.
Some helpful tips when it comes to listing on Poshmark:
- Always disclose any damage or flaws to the item, both in writing and in pictures.
- Make sure you always take pictures of brand and size labels and other details that make the item appealing.
- Use natural light whenever you can!
- Always fill out the brand in your listing. A lot of people search for brands!
- Share to Pinterest! You have the option of sharing to a variety of social media platforms, but I think Pinterest is the best option – often times when I’m searching for something, what I’m really seeing is a Poshmark listing via Pinterest!
- Don’t list your item for the lowest price you want to take. Give it some wiggle room.

